
Sliding glass or ZIP screens for a bioclimatic pergola?
Compare sliding glass and ZIP screens by privacy, access and product compatibility. A practical bioclimatic pergola guide for manufacturers and dealers.
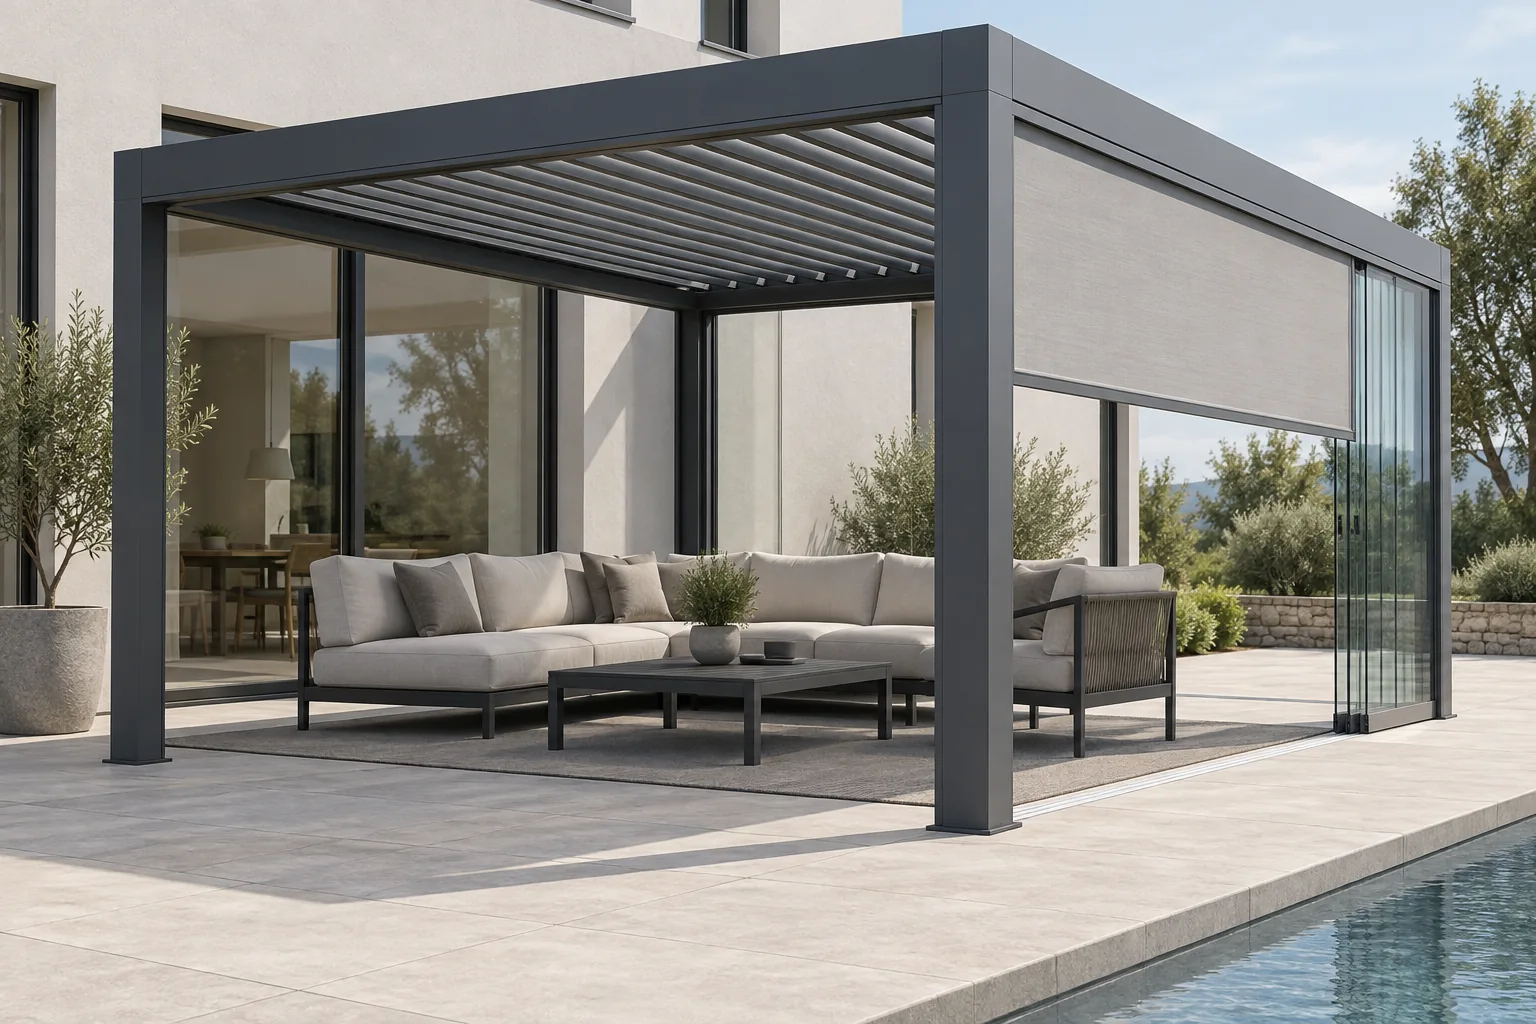
Table of contents
Sliding glass and ZIP screens answer different questions in a bioclimatic pergola project. Glass preserves a view through a physical enclosure. A textile screen offers a different balance of shading, privacy and openness, depending on its fabric and specification. Neither should be sold as the automatic upgrade for every side of every pergola.
For dealers and manufacturers, the strongest proposal starts with what each side of the structure needs to do. It then connects that purpose to a compatible product, a clear visual layout and an accurate quotation.
Give each side a job
The garden-facing side may be about the view. A boundary-facing side may be about privacy. Another side may need an uninterrupted entrance from the house. Treating all three as an identical accessory selection can produce a proposal that looks complete but is awkward to use.
Label the sides consistently in the project. Record which side faces the house, where the entrance is and where furniture will sit. Ask the customer to describe a normal day in the space before discussing finishes or optional extras.
This shifts the conversation from “Would you like glass?” to “What should happen on this side?” It is a more useful foundation for both advice and pricing.
Compare the specification, not just the appearance
| Question | Sliding glass | ZIP screen |
|---|---|---|
| What remains visible? | Review pane layout, frame lines and reflections | Review the actual fabric's openness and privacy characteristics |
| How does the side open? | Confirm sliding direction, stacking and clear opening | Confirm travel direction and the screen's retracted position |
| What takes up space? | Review tracks, handles and stacked panels | Review the headbox, guides and any required mounting details |
| What needs operation? | Confirm manual or powered components in the selected system | Confirm motor, controls and any applicable sensors |
| What affects acceptance? | Dimensions, access and approved glass specification | Size limits, fabric selection and permitted operating conditions |
Manufacturer documentation is the source for the selected product's actual limits. Renson's Camargue product information, for example, describes integrated screens and other accessories as parts of a specific pergola system. Compatibility is a product-system decision, not something that can be inferred from a similar-looking frame.
Check the entrance before filling the elevation
A closed elevation can look tidy in a brochure while concealing an inconvenient entrance. Show where the glass stacks, how much opening remains and whether the customer can move around the intended furniture. For screens, make sure the customer understands which side is open when the fabric is lowered.
Keep floor-level details in the discussion. Tracks and thresholds should be reviewed against the intended access needs and installation details. Do not promise a particular level of accessibility from a perspective image alone.
Combining glass and a screen on one side requires its own compatibility check. Two individually available accessories are not necessarily an approved combined assembly.
Let customers see the trade-off in the whole pergola
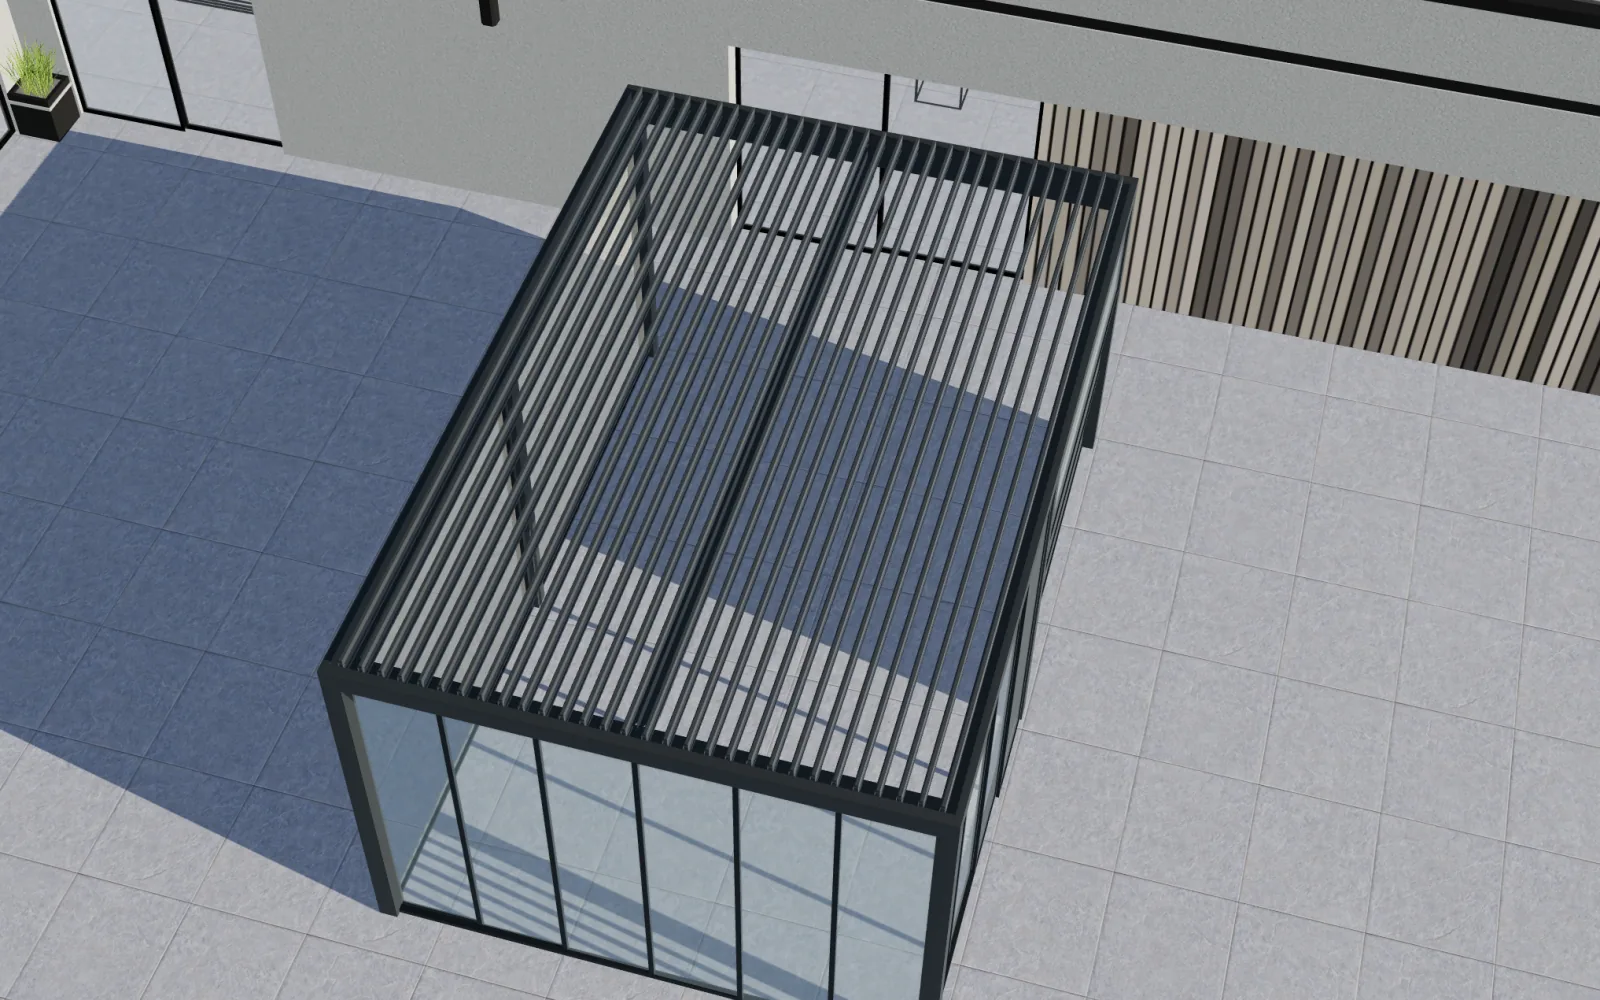
An isolated panel thumbnail does not explain how an enclosure changes the complete structure. Present side choices alongside the roof, frame finish and neighboring sides. When an opening changes, review its effect on the composition rather than showing the new accessory out of context.
This is where Configurix fits naturally into the consultation. Its pergola configurator can connect visual choices to the options and rules defined for your range. The manufacturer controls what is offered; the dealer can explain the resulting design with the customer.
The commercial benefit is clarity. The buyer understands what they selected, while the team has a specific configuration to quote instead of a handwritten list of accessories.
Make enclosure pricing readable
A quotation should identify the selected side, product type, dimensions or size basis, finish and any associated components. Keep installation and site-dependent work clear so that a screen price is not mistaken for a complete installed package.
If the customer changes from one enclosure type to another, review the price and related components together. Configurix's configured pricing and quotation workflow can support this connection when the relevant catalog and commercial rules have been implemented.
Do not promise an indoor room by adding sides
Enclosing a pergola does not, by itself, establish the insulation, airtightness or comfort of a conditioned room. Explain the selected system's documented performance and the intended use of the space. Specific performance questions belong with the manufacturer and project design team.
For the next decision, explore lighting and control options. If your sales team needs to make these choices clearer across a dealer network, request a private Configurix walkthrough around your own enclosure catalog.
Connect your pergola catalog to a clearer sales process
See how Configurix can connect your product choices, 3D presentation, pricing and quotations in a private walkthrough.
Book a private Configurix demo →Related articles
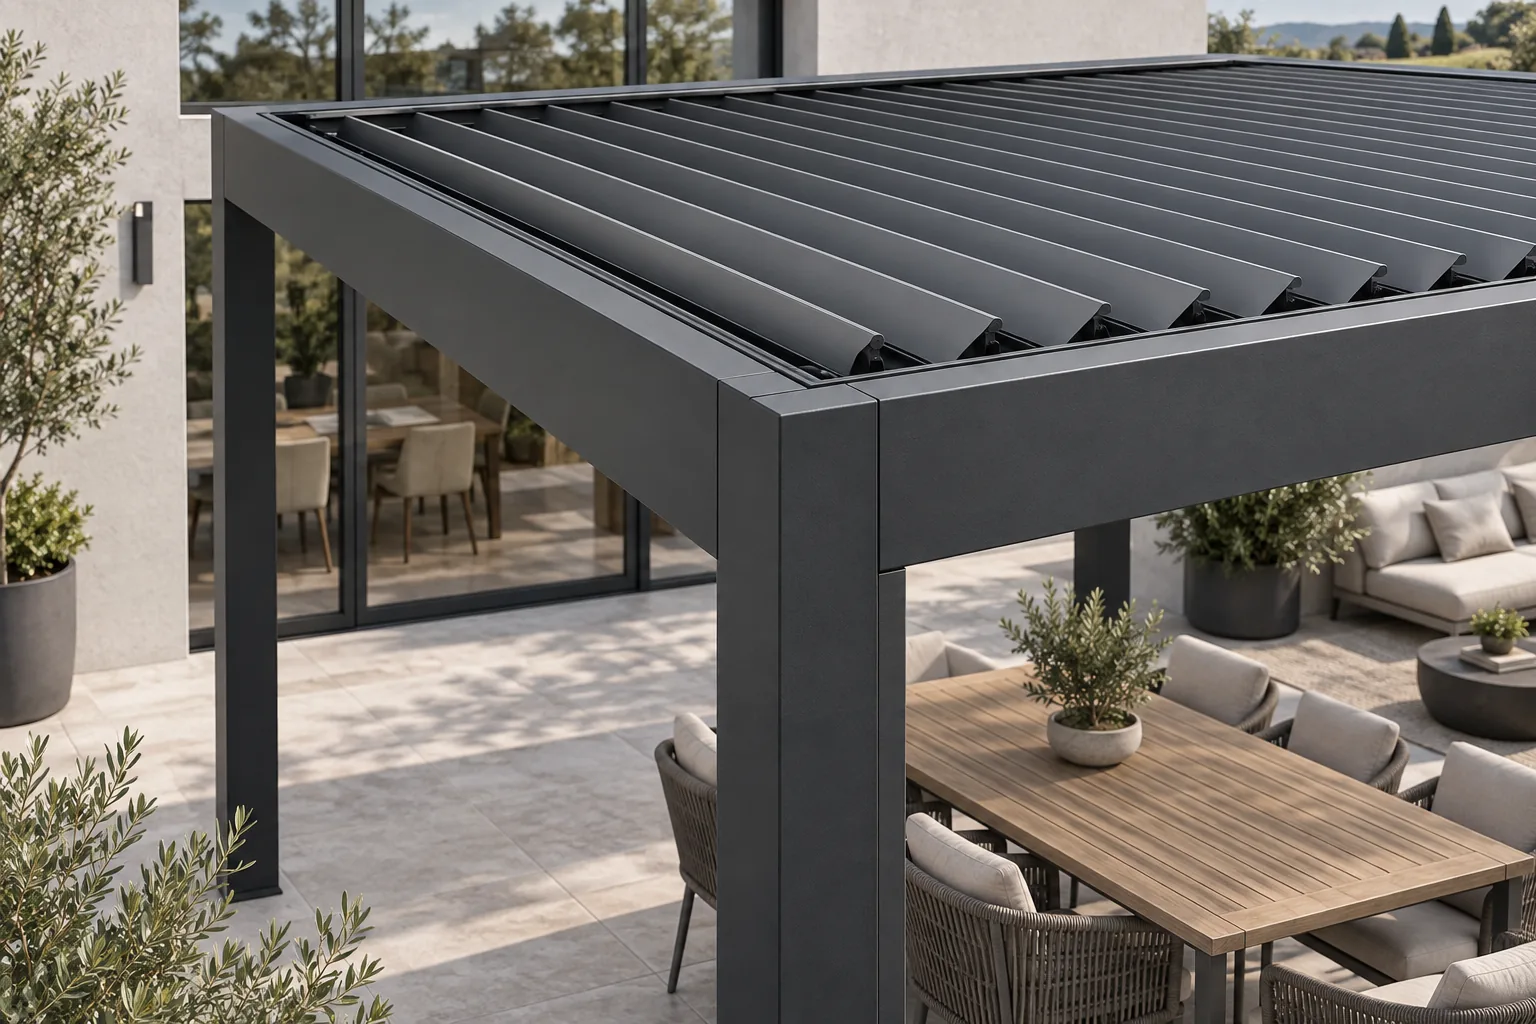
Bioclimatic pergola maintenance: a better dealer handover
Give bioclimatic pergola customers a clear handover: care instructions, accessory details and an accepted product record your service team can use.
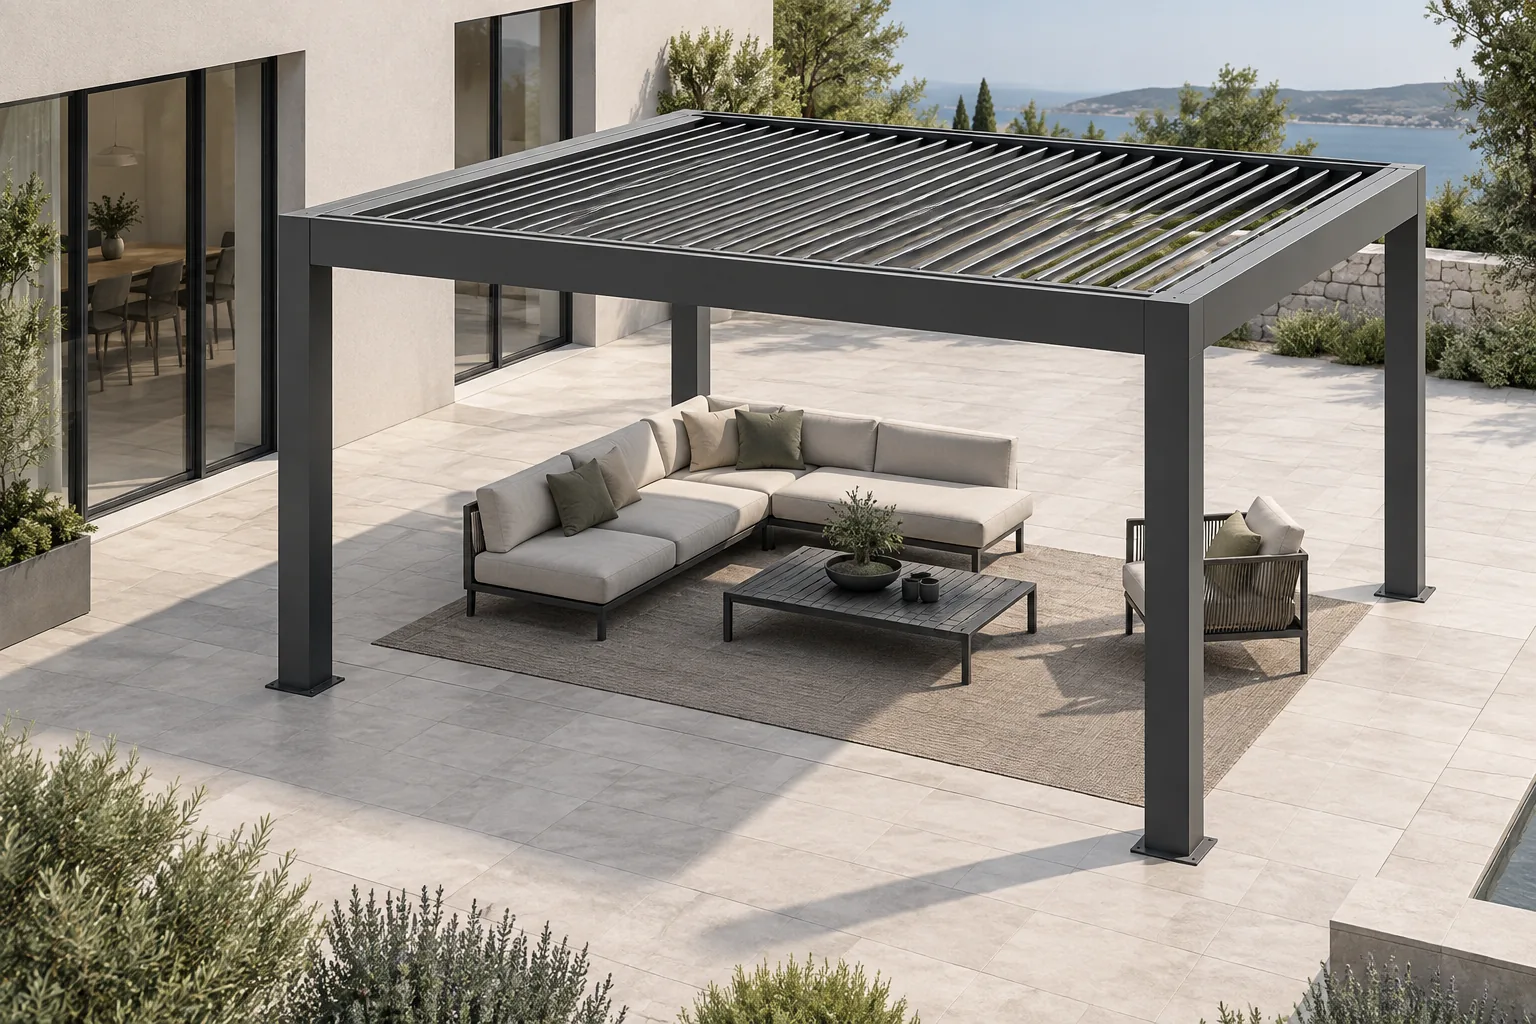
Wall-mounted or freestanding bioclimatic pergola?
Compare bioclimatic pergola layouts, post positions, building interfaces and quotation scope. Help customers understand the right arrangement for their site.
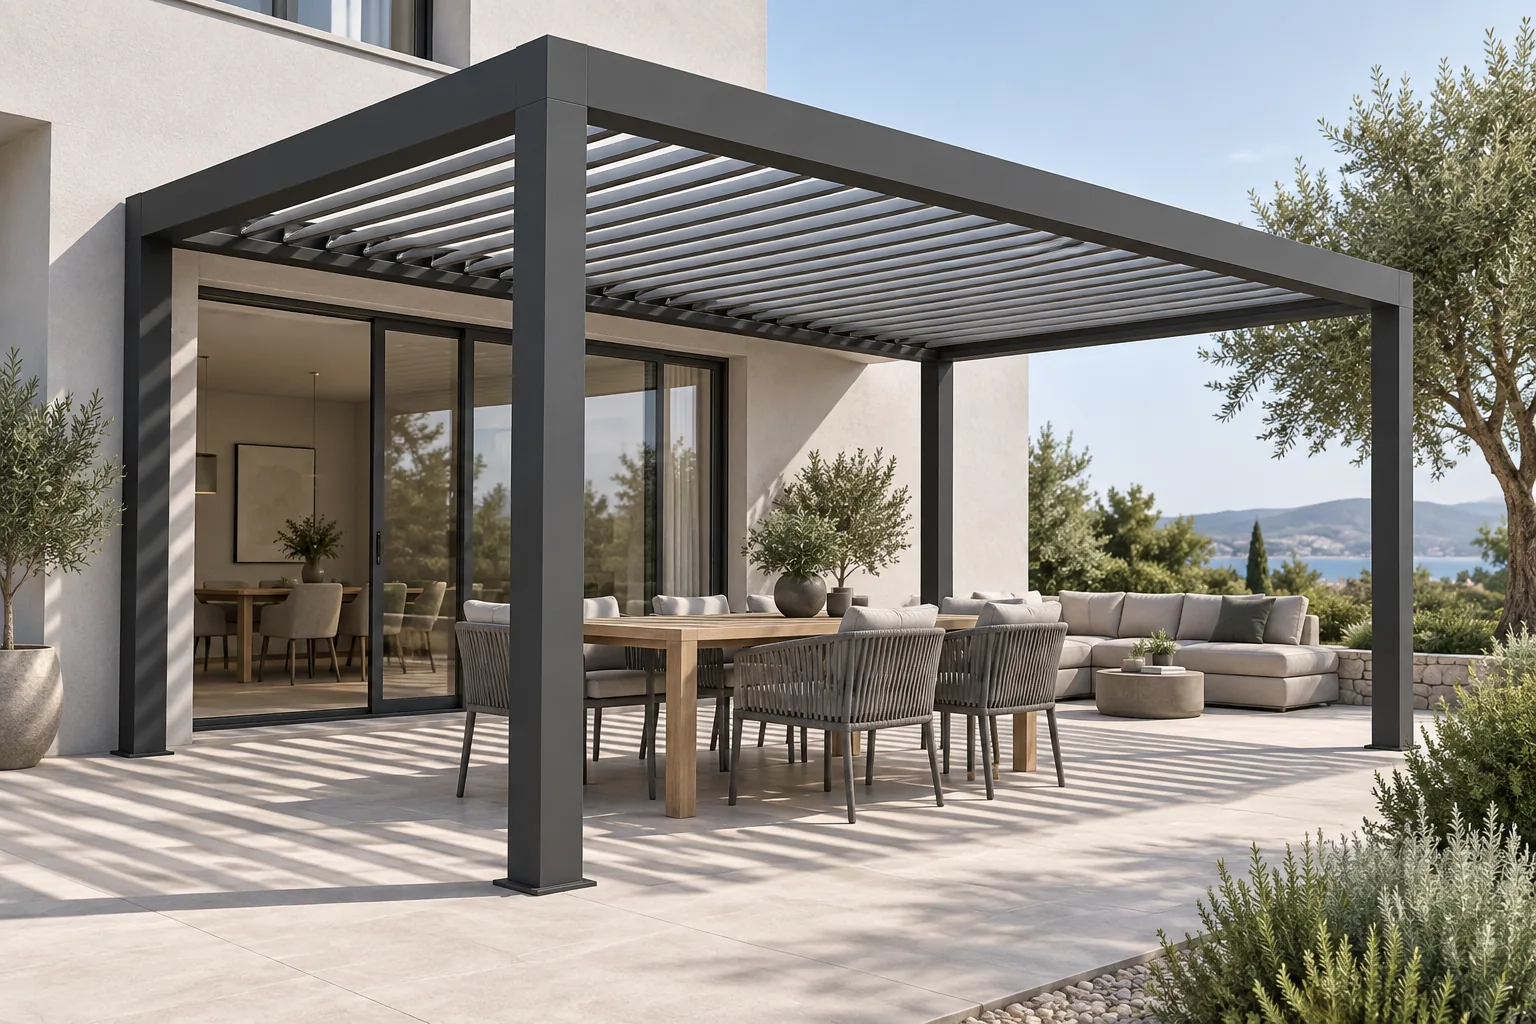
Bioclimatic pergola louvre orientation: explain light and shade
A dealer's guide to bioclimatic pergola louvre orientation, roof movement and shade, with clearer product choices and quotations using Configurix.
Choosing a bioclimatic pergola configurator: why Configurix
Evaluate Configurix for bioclimatic pergolas: louvres, glass, screens and catalog rules connected to 3D choices, pricing and quotes.